
Rianne Westgeest
Read all my blogsUsing ReactJS in combination with SAP Commerce B2B Accelerator
Rianne Westgeest, 15 January 2020
Sometimes when setting up an SAP Commerce project, you find yourself in an ambiguous situation. On the one hand, you would like to use the B2B accelerator to set up the storefront, since this covers almost the whole view set you wish to include at the store. On the other hand, you have some additional features that could strongly benefit of the advantages of ReactJS. We found ourselves in a situation like that recently and guess what? We handled this situation by combining the B2B accelerator storefront with React components. In this blog I would like to explain in further detail how you can knit React into the B2B accelerator storefront.
The benefits of ReactJS
But before we start, what exactly are the benefits of React? In the previous blog from my colleague Sandor van der Neut, you can read more about the background of ReactJS, so I won’t bother you with that. I would just like to point out shortly the main benefits from ReactJS, to gain a better understanding about why we would like to work with it:
- It enables to reuse system components which make the code better maintainable and boosts productivity
- Efficient DOM rendering
- It comes with a helpful developer toolset
Especially the faster rendering and SEO-friendliness are the main reasons to include React components in our project. The search feature, filter bar, product tiles, pop-ups, modals and checkout are eminently the places where ReactJS could be the most elegant solution for the job. (A full list of the advantages of using ReactJS can be found here)
Bringing React components to the tagfiles of the B2B accelerator
I’d like to illustrate how we used React components in the B2B accelerator with a small code example. In this project, we have a feature request to include a button at the product detail page to a modal where you can find stock availability per store. This covers a call to the backend with a very expensive data structure as a response. For a fast and user-friendly solution, we build this modal with ReactJS.
First of all, we build our React components. If you are interested in getting started with React, I can recommend the tutorials found on https://reactjs.org/. We know we want to use the modal at multiple places in the storefront, so we first created an abstract version of the modal as a React component. This can be seen as the boilerplate in which we can render the view that we would like to display at the modal.
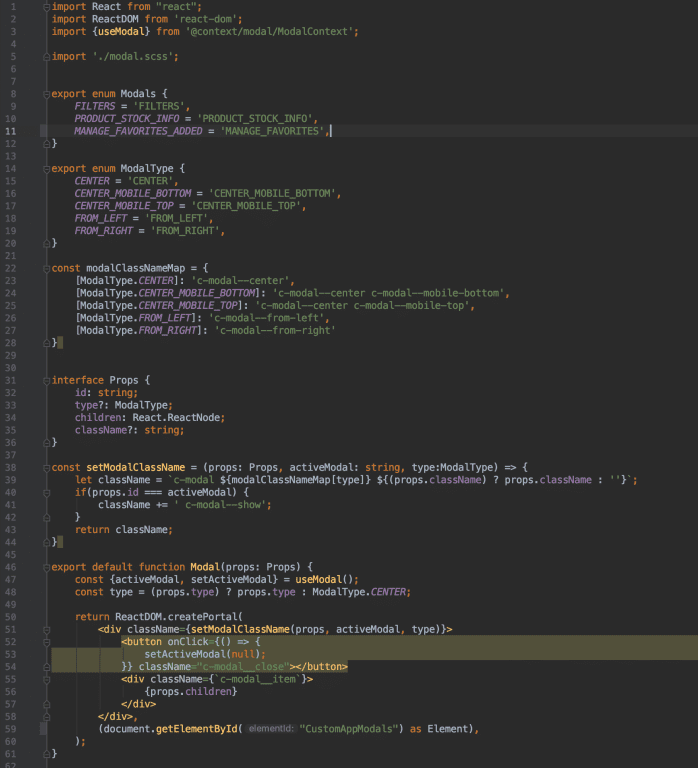
After this, we create the modal specific for displaying the stock information at the product detail page, triggered by the key ‘PRODUCT_STOCK_INFO’. This is also a React Component and looks something like this:
[abap]import React, { ReactElement } from ‘react’;
import ProductStockInfo from ‘@components/product-details/ProductStockInfo/ProductStockInfo’;
import Modal, {Modals} from "@components/general/Modal/Modal";
export default function ProductStockInfoModal(): ReactElement {
return (
<Modal id={Modals.PRODUCT_STOCK_INFO}>
<ProductStockInfo />
</Modal>
)
}
[/abap]
You can see in the snippet above that this basically renders our re-usable base version of the modal with the ProductStockInfo ReactJS component in it.
Also, we create a ReactJS component for the button that triggers the modal. We deduced the button as well in order to make it reusable for other places in the project.
[abap]import React, { ReactElement } from ‘react’;
import Button from "@components/general/Button/Button"
import {Modals} from "@components/general/Modal/Modal"
import {useModal} from "@context/modal/ModalContext"
import "./trigger-modal-button.scss"
interface Props {
text?: string;
className?: string;
modalId: Modals;
}
export default function TriggerModalButton({text="", className="", modalId}: Props): ReactElement {
const {setActiveModal} = useModal();
return <Button className={className} onClick={() => {
setActiveModal(modalId);
}}>{text}</Button>;
}[/abap]
Then, as a last step, we should make the ReactJS productStockInfo modal component and the ReactJS link component available in the tagfile of the product detail page. This way we can keep the out-of-the-box functionality of the product detail page provided by the B2B accelerator and extend it with our ReactJS ProductStockInfo modal component.
We do this by creating entry-components.ts file and put this file in the storefront/web/webroot/src folder. There we declare the components like this:
[abap]import {import} from "@babel/types";
const components: any = {
ProductStockInfoModal: async (): Promise<any> => {
return import(
/* webpackMode: "eager", webpackChunkName: "ProductStockInfoModal"*/ ‘./components/product-details/ProductStockInfoModal/ProductStockInfoModal’
);
},
TriggerModalButton: async (): Promise<any> => {
return import(
/* webpackMode: "eager", webpackChunkName: "TriggerModalButton"*/ ‘./components/general/TriggerModalButton/TriggerModalButton’
);
},
}
export default components;
[/abap]
In the tagfile from the productDetail page, we call the TriggerModalButton component like this:
[abap]<div data-react-entry="TriggerModalButton" data-react-json='{"text":"<spring:theme code="productdetail.check.stock" />", "className":"c-link-copy–normal", "modalId":"PRODUCT_STOCK_INFO"}’></div>[/abap]
And the ProductStockInfoModal like this:
[abap]<div data-react-entry="ProductStockInfoModal"></div>[/abap]
Now we have included our custom ReactJS components in the B2B accelerator storefront. I hope you enjoyed reading this blog and if you have any questions please do not hesitate to contact me at rianne.westgeest@acorel.nl
Receive our weekly blog by email?
Subscribe here:

